
Oi pessoal/Greetings,
Today I am bringing to you an Enchanted Mum Cylinder Box.

From This to That:

We will be using the following Heartfelt Creations:
Enchanted Mum (and stamp) HCD1-768 (HCPC-3691)
Layered Scalloped Posy HCD1-717
Decorative Lace Border HCD1-713
Deluxe Flower Shaping Kit HCST1-401
Coffee Talk Paper Collection HCDP1-261
Also used:
A cardboard Cylinder ( I use the inside of a packing tape), Spellbinders Celebrations Totally Tangerine, Berry Black, Golden Glow , ColorBox pigment grass, Fiskers Stamp Block, Firefly mini bottles, Faber Castell Black Chalkboard, Mod Podge, Scissors, Brush, Sponge, Spatula, Double-sided tape, Wet glue, Prima Marketing Loopie Kits, Prills ANC824 Stop Wining!, Ranger Glossy Accents clear, Dauber, Vellum paper, Navy and Ivory cardstock, Chipboard and heavy cardboard, Spellbinders Majestic Circles, Stampin' Up! Circles Collection


First I measure the Cylinder to make sure it was the same size as my Decorative Lace

You will need four pieces of high contrast paper for this project.

Two lighter pieces for the lace and two dark blue pieces for the background.

I cut my background paper slightly larger then my cylinder and am going to use the Decorative Lace Border.

By taping down my Die-cut to the paper, I am assured that it will not move.

I only need to run the Die-cut though my machine once for it to cut.

I cut TWO pieces of paper at once.

The Spellbinders' Tool 'n One is great for getting in intricate designed Die-cuts.

Tada

I used a sponge and Fabre Castell Back Chalkboard to cover my cylinder.

It is easier to start on the two edges (inside and out!) and work inwards a bit.

You don't need to paint the entire cylinder.

The two cut out papers from earlier were used here to cover the inside and outside.

I used Scotch Advanced Tape Glider to glue my paper down.

It is quite useful to smooth the sides down using a bone folder and clothespins.

Next used The Best Glue Ever to glue the lace.

Less is more when it comes to delicate designs like this one.

The lace is not long enough to fit around the cylinder, but that's ok because I will cover this with flowers later.

I am now going to use the Layered Scalloped Posy that best fits my cylinder for the base.

The design is only half a circle, so I run it though once then once again of the other side.

With a white card stock I am going to create a doily for the inside of my cylinder.

Once again I run the die once though then the same with the other side.

The Heartfelt Creations Deluxe Flower Shaping Kit has a point that is great for getting small pieces of paper out of designs.

I glue the doily to the base.

Because I want my cylinder to be strong, I am using a piece of chipboard to secure the box.

I love hot glue because it dries so fast, so I am using that to glue the bottom of the cylinder to the base.


The chipboard is at the bottom, and will create a slightly elevated surface.

I also apply glue to the outside.

Next comes the Spellbinders Majestic Circles.

I am going to cut a piece of cardboard the slightly smaller then the size of my cylinder to create the lid.

I am using one of the die cuts to create a lid in a similar theme.

Now using an outline die cut and a decorative die cut I will cut the lid with the same blue.

I cut two pieces of cardboard so that the lid did not shift around.

To create a smooth lid I glued a piece of blue paper to the bottom of one of the cardboard circles.

Then I glued a second cardboard on top of that.

On top of the two cardboard piece I top the sandwich off with another blue circle.

The Prima Marketing Loopie Kits provide a variety of pieces that work great for this project.

I need somewhere to put my ribbon so I cut a slit in the doily with the Tool 'n One.

I am using one of the larger metal pieces to hold my ribbon in place.

I glue the blue cardboard on top of the ribbon to seal it off.

Clothes pins are SUPER useful in mixed media crafts.

I bought a pack of Firefly mini bottles (which are super cute) and am using one of the small bottles.

I use a Scopper to add Prills ANC824 Stop Wining! beads in the little bottle.

I used the Ranger Glossy Accents clear gel to hold the beads in place, but you don't need to if you want the beads loose.


I used a brush to apply Mod Podge to the ribbon to leave it looking wrinkly.

A spray bottle with water is useful to have to use of flowers and ribbon to give a worn look.

I cut out a tag to put on the lid.

Most of my pieces have distressing on the sides, otherwise it looks to neat and new.
I used Spellbinders Celebrations in Berry Black.

It was glued under the metal piece facing sideways.

I started to glue the ribbon around the base of my cylinder.


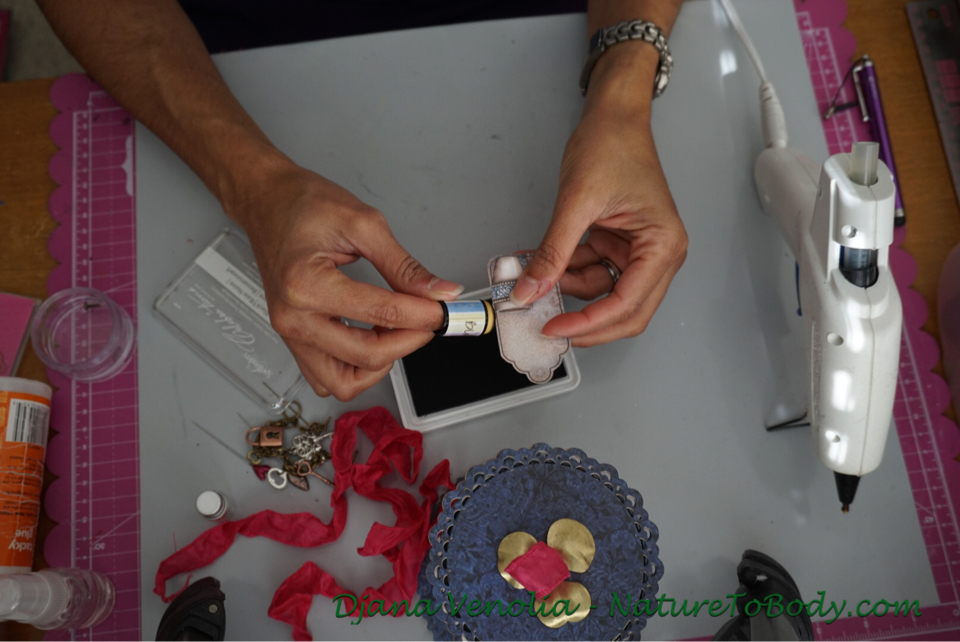
Next I used Spellbinders Celebrations in totally tangerine and golden glow to stamp the Enchanted Mums on Vellum Paper. I used the coordinating die-cut through the BigShot to cut them out. Using the Shaping kit I sprayed the flowers once with water to loosen the fibers and allow paint in.

I used a dauber to add color to the tips of the flowers.

The middle two tips were used to curve the petals outwards then the center inwards creating a opened petal look.


In the smallest flowers I added glue and Prills to create a center.
With my flowers layered and glued to one another I started to place them on the project.

I started with the largest to cover the space in between the edges of lace

then I added the small container with Prills. Some of the metal accent pieces came next.

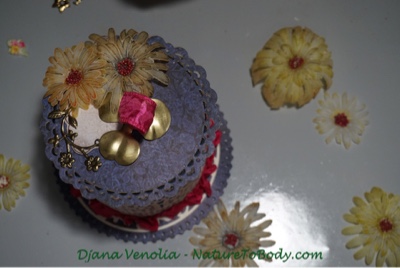
Lastly came the smaller flowers on top and VOILA!

Its complete! How cute was that?
I hope you got inspired to try a new project using repurposed materials and Heartfelt Creations.
XOXO,
Djana

No comments:
Post a Comment